I love buying ribbon, but sometimes it's hard to remember what I have. I found a set of three of these hangers at the store for $3.99. They are meant for hanging slacks. They are very sturdy and the foam holds the spools really well.
Each hanger holds at least six spools of ribbon. I have tried storing it in plastic boxes, but I think this is the easiest way to store it, to see what I have, and to get to it when I need it.
I'd like to wish a very Merry Christmas to all of you! When I started blogging last January, I never expected to meet so many incredible people or learn so much! It's been an absolute pleasure.
I hope you and your families have a blessed Christmas!
Thank you all for your friendship and the inspiration you've given me.
I love rustic Christmas decorations and certainly loved the project that Kindra At Home With K's blog did to make her twig Christmas tree. Here's my version of it.
I started with this frame from Michael's. I spray painted it white with Rustoleum 2x Flat White Paint.
I was disappointed that there was only a piece of cardboard on the back of the frame. This definitely made it harder to get a good stretching of the burlap. I put a thin piece of batting under the burlap and hot glued the edges of the burlap to the back of the cardboard.
I used Tacky Glue to attach the twigs to the burlap. I spread the glue on the twigs pretty heavily.
This is before the glue dried completely.
I used a heavy pan to hold the twigs in place to dry.
I added a starfish to the top and was done. (You can still see a little of the tacky glue. It was still wet here, but did dry clear)
I've finally finished decorating for Christmas. I waited on most things this year until my daughter came home from college, as she loves to decorate. I like to add Christmas touches to the things I already have on display.
I added some ornaments to the scale that I inherited from my Mom, and a bow to a topiary I made last summer.
I added ornaments to a set of antique apothecary jars on my mantel.
And in some more apothecary jars that are sitting on an old radio.
I learned how to make a bow from Maple and Magnolia's Blog and added a wreath to the mirror on the mantel.
I hope decorating your home and celebrating the season are going well!
I love snowmen, I love plaid ribbon and love birdhouses, so generally, that's how I decorate for Christmas.
This snowman looks cute at night all lit up.
Many years ago a couple of neighbors and I got together and painted ornaments. Who knew I could make something like these? :) I made one for us and one for my Mom. If I ever figure out how to make a big plaid bow for it, I'll add that.
I love these snowmen from Hallmark. I added a bow to the topiary I made a few months ago and it looks festive.
My husband reburbished this scale last year. I like the colorful ornaments in the tray.
This was our family gift to the Grandparents and close friends when our kids were only 3 and 5 years old. (They are both in college now) My husband cut the trees, the kids painted all of the solid parts and I painted the details. It was such a fun project and still makes me happy to see it.
On Thursday we had a huge windstorm. In our little town the wind was clocked at 93 mph. Just a few miles from us, it was clocked at 102 mph. The devastation was terrible!
There is a cemetery right down the street from us. It was so upsetting to see!
We took this picture this morning. There are at least ten trees that look just like this, all in a row.
This tree has been cleaned up. It was HUGE and just barely missed hitting the apartment building right there. The trunk is (was) right near that stop sign! I'm guessing that it was 60-75 feet tall. I'm sure those people living right there are very thankful that it fell in the direction that it did!
As we were driving around today, the devastation was amazing. There are thousands of trees that fell. So many of them were enormous! There are entire streets right near us that cannot even be driven on due to the trees and debris spread everywhere.
The bad news is that another storm is forecast for tonight with winds up to 75mph and snow. Even though Sunday is always a very, very quiet day around our town, it was bustling today with so many people rushing to get the streets cleaned up before the next storm hits tonight. (We just received a call from the city telling us that the National Guard will be working through the night to clear as much debris as possible.) Now our fingers are crossed that tonight's storm won't pack the same sort of punch.
I love transferring images onto wood, metal, terra cotta, towels, etc! I think I've tried almost all of the ways out there!
Here's another option that works especially well on tiles for coasters, metal cans and even wood!--Omni-Gel. I purchased it at Michael's.
Follow the directions on the bottle:
Print off an image using a laser printer (or make a laser copy at Kinko's) on white paper. Use the regular image NOT the mirror image for this process.
Apply a smooth coat of Omni-Gel using a foam brush. Go in one direction over the image and a good amount around the edges.
Let that dry, (it takes about 15 minutes) then go over everything in the opposite direction with another smooth coat.
Let that dry, then brush on a third coat diagonally.
After it's completely dry, set the paper in a bowl of water. (I use a Dollar Store dish bucket)
Let that sit in the water for about 15 minutes. (extra time in the water doesn't hurt)
I put the wet image on a piece of wax paper or foil so it doesn't move much.
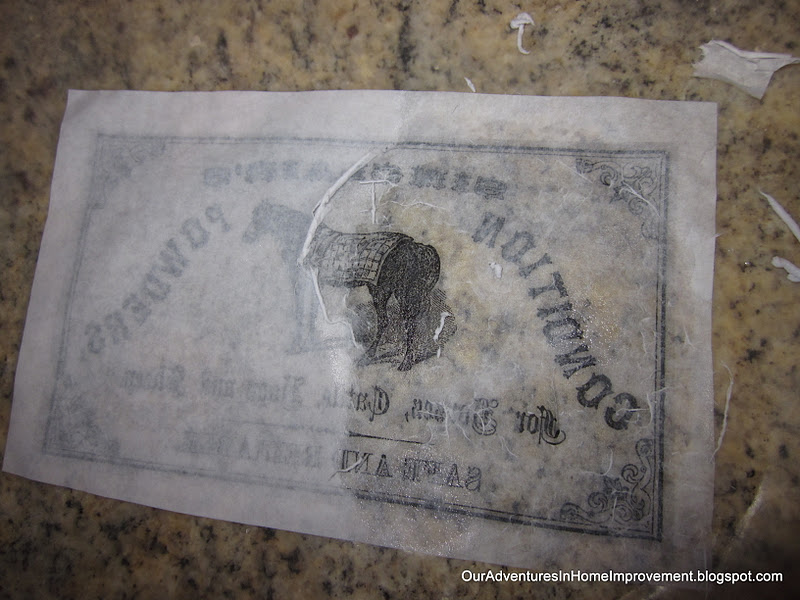
I used to use my finger in a swirling motion to remove the paper, then I started using a micro-fiber cloth. It is SO much faster and easier! You may need to spray it with water or dip it back in the bowl to keep the paper damp while you're removing it.
(Please excuse the different images here. I was making a lot of things at once.) :) This graphic is also from The Graphics Fairy
You will want to get ALL of the paper off as it will look cloudy after you've finished your project (not good!) if you've missed any. Using the micro-fiber cloth really helped. I let it dry a bit, then go back and add a little water to see if any additional paper comes up.
If I'm planning to adhere the image to wood or metal, I cut it to size at this point. I cut right along the edge of the graphic for wood or metal projects. If I'm going to use the image for coasters, I wait until I have applied it to the tile so it covers everything perfectly, then cut right at the edge of the tile.
Then apply a coat of Omni-Gel to the back of the image and set it on the can or wooden piece. Smooth out all of the air bubbles and let it dry.
Here is an image applied to a wood box using the same technique.
Apply the image onto the tile using the above process. Set your scissors right on the edge of the tile and cut it. It will be a little slippery as it's wet with Omni-Gel. Rub the edges into the rough edges of the tile so they really won't show up.
When it's dry, sprinkle a little bit of salt on the tile and spray it with a clear sealant. I've had the problem in the past with some tiles where wet glasses would stick to the tile. It seems to work well to add the salt to solve this problem.
So now you've got several projects you can make with Omni-Gel transfers.